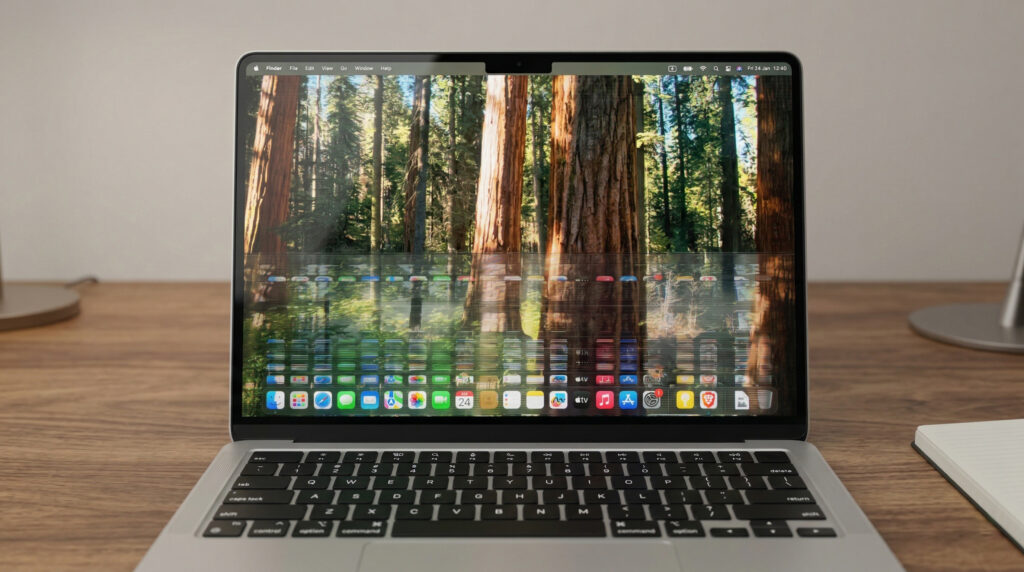
MacBook screen flickering is one of those display issues mac users tend to panic about immediately. And honestly, that reaction makes sense. You’re mid-project, your screen starts strobing like a broken streetlight, and your brain jumps straight to “expensive repair.”
Here’s the thing though: most cases of MacBook screen flickering are software-related. And software problems are free to fix. The real skill is figuring out which kind you’re dealing with before you do anything else. That’s what this guide is about. I’ll walk you through the diagnostic logic first, then the actual fixes in order from easiest to most involved.
Why Your MacBook Screen Is Flickering (And Why It Matters Which Kind)
Not all flickering is the same. The fix for a True Tone glitch and the fix for a worn display cable are completely different things. Getting this wrong wastes time and, in some cases, money.
The Two Types: Software Flicker vs Hardware Flicker
Software flickering tends to be inconsistent. It might show up when you open a specific app, switch to Dark Mode, or after a macOS update. It’s usually full-screen or affects brightness uniformly. It can come and go.
Hardware flickering tends to be more physical in nature. It might show up only at certain lid angles. It might look like lines, bright spots at the bottom of the screen (sometimes called the “stage light” effect), or flickering that only happens on the internal display but not an external one.
How to Do the External Monitor Test
This is the single most useful thing you can do before anything else. Plug your MacBook into an external display using an HDMI or Thunderbolt cable, then mirror or extend your screen.
If the flicker disappears on the internal screen during this test, you’re likely dealing with a hardware issue with the display panel or its cables. If the flicker shows up on the external monitor too, it’s almost certainly software or GPU-related, and you have a real shot at fixing it yourself. This one test saves you from chasing the wrong solution. You can find more Mac fixes and optimization guides on TheByteLab if you’re dealing with other issues alongside this one.
Software Fixes to Try First
Work through these in order. Each one rules out a different cause.
Restart, Update macOS, Boot into Safe Mode
Start with a full restart, not just closing the lid. A proper shutdown clears memory states that can cause display glitches, especially if your Mac has been running for days.
After restarting, check System Settings > General > Software Update. Outdated macOS versions are a known source of display bugs, and Apple does push fixes for these quietly in point releases. If you’re on a beta build, consider dropping back to the stable release. Betas introduce instability across the board.
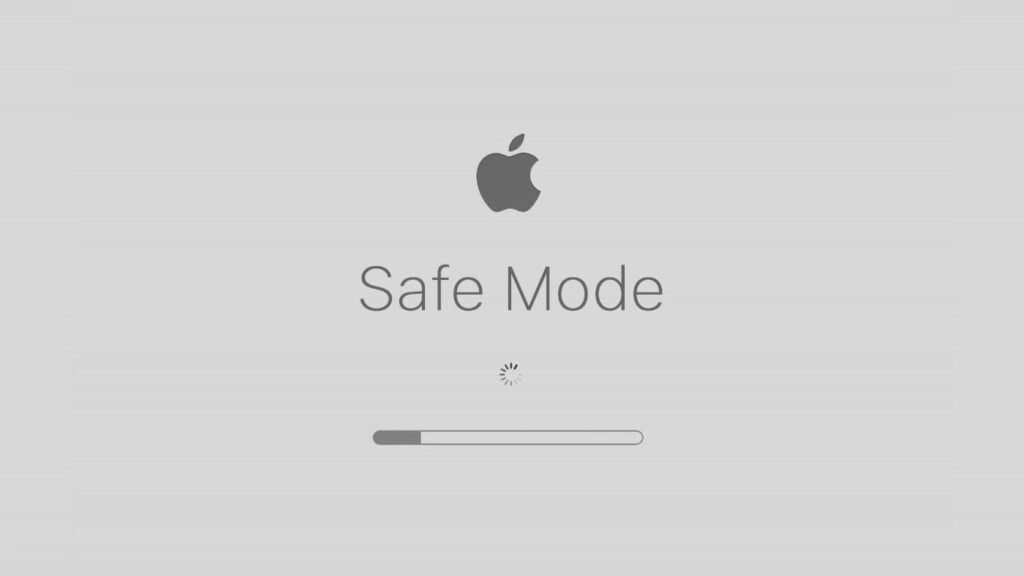
If the flicker is still there, restart while holding the Shift key to boot into Safe Mode. Safe Mode loads only the essential parts of macOS and disables most third-party extensions. If the flickering stops in Safe Mode, a background app or login item is causing it. From there, you remove or update recent installs one at a time until you find the culprit.
Turn Off Auto Graphics Switching (the Most Overlooked Setting)
MacBooks with two GPU systems, one for efficiency and one for performance, use automatic graphics switching to bounce between them. In practice, this transition can sometimes trigger a flicker.
Go to System Settings > Battery > Battery, and uncheck “Automatic graphics switching.” If that option isn’t there, your Mac only has one GPU and this isn’t your issue. If it is there and disabling it stops the flicker, you’ve found your fix. It’s worth noting that disabling this will slightly increase power draw, so you might want to re-enable it when you’re on battery and only keep it off when plugged in.
Disable True Tone and Dark Mode
True Tone adjusts your display color temperature based on ambient light. It’s useful, but some users find it causes subtle flickering, especially in low light conditions or when switching between rooms.
Go to System Settings > Displays and uncheck True Tone. Then, separately, try switching from Dark Mode to Light Mode under System Settings > Appearance. Both of these can interact strangely with certain display drivers, and toggling them off one at a time tells you which one matters.
Disable Hardware Acceleration in Chrome or Brave
This one catches a lot of people off guard. Chrome and Brave use hardware acceleration by default, which offloads rendering to your GPU. On some Mac configurations this causes screen flickering that looks like a system-level problem but is actually browser-specific.
In Chrome, go to Settings > System and toggle off “Use hardware acceleration when available.” In Brave, it’s under Settings > System. Restart the browser and see if the flicker stops. If it does, the issue is isolated to that browser, and you can either leave it off or look for a browser update that fixes the conflict.
Is macOS Tahoe Causing Your Screen to Flicker?
If your Mac started flickering after updating to macOS Tahoe and you’re using an external monitor, this section is probably the one you need.
What the Tahoe Dithering Bug Actually Is
Apple’s display controller on M-series Macs applies something called temporal dithering by default. This is a technique that simulates smoother color gradients across the display. The problem is that on certain monitor and cable combinations, this causes visible flickering and eye strain that Apple’s display settings can’t turn off natively.
Multiple users across Apple’s community forums have confirmed this is happening on M3 and M4 machines connected via USB-C to DisplayPort cables. It was rarely an issue before Tahoe. Some users have found partial relief by changing the display refresh rate slightly, dropping from 60Hz to 59.94Hz, which is enough to break the sync pattern causing the flicker.
The Stillcolor Workaround for M-Series Macs on External Monitors
For a more permanent fix, a third-party utility called Stillcolor lets you override the display controller’s dithering behavior and set it to launch at login. It’s not a native Apple solution, and macOS currently has no built-in way to disable dithering persistently across reboots.
If you’re using Homebrew, you can install it that way. If the Tahoe dithering issue is confirmed as your cause, this is currently the most reliable workaround available until Apple patches it. Keep checking for macOS updates specifically around display fixes.
Reset Options Before You Consider Hardware
If you’ve been through all the software steps and it’s still flickering, try these resets before assuming hardware failure.
NVRAM Reset
NVRAM stores certain system settings including display configuration. Resetting it occasionally clears states that cause persistent display issues.
On Intel Macs: shut down, then power on and immediately hold Option + Command + P + R until you hear the startup chime twice or see the Apple logo appear twice. On M-series Macs, NVRAM resets automatically during a standard restart, so there’s no manual process needed.
SMC Reset on Intel vs M-Chip Macs
The System Management Controller handles power management and hardware communication. On Intel MacBooks without a removable battery, shut down, connect power, then hold Shift + Control + Option + the power button for 10 seconds. Release, then start your Mac normally.
On M-series Macs, there’s no SMC in the traditional sense. A full shutdown (not just a restart) for about 30 seconds serves the same purpose and is what Apple recommends.
When Is It Actually a Hardware Problem?
This is where you need to be honest with yourself about what you’re seeing.
The Angle Test: Flexgate and What It Looks Like
If your MacBook’s screen flickers or goes dark only when you open the lid past a certain angle, typically near full extension, that’s a strong indicator of what’s informally called “Flexgate.” It’s caused by the display’s backlight flex cable wearing out from repeated stress at a tight routing point inside the hinge.
MacBook Pro models from 2016 to 2019 are particularly prone to this, enough that Apple ran a repair program for some affected models. If you notice the flickering gets worse the more you open the lid, and disappears when you hold it at a specific angle, this is almost certainly what you’re dealing with. Check Apple’s support site to see if your model qualifies for any existing repair programs.
Dead Display Cable vs GPU Failure: How to Tell
Lines running horizontally or vertically across your screen, often colorful or flickering independently of what’s on screen, usually point to a failing display flex cable rather than the GPU. If the external monitor test showed a clean image on the external but the internal screen has lines, the internal display assembly or its connection is the more likely culprit.
GPU failure tends to produce artifacts on both displays. It’s less common on modern M-series Macs, which have integrated graphics baked into the chip, but older Intel-based MacBooks with AMD discrete GPUs had documented GPU issues, particularly in the 2011 through 2013 models.
For a deeper look at how different MacBook models compare on display reliability, the MacBook reviews and benchmarks section on TheByteLab covers real-world testing across generations.
What to Do Next If It Is Hardware
If the external monitor test, the angle test, and all software steps point to hardware, you have a few paths. Apple’s own repair program is worth checking first, especially for known issues like Flexgate. If you’re out of warranty, authorized third-party repair shops can often replace the display cable at a fraction of the cost of a full display assembly. Getting a diagnosis from a professional first is the right call before you spend anything.
Preventing MacBook Display Issues Before They Start
A few habits that actually make a difference.
Keep macOS Updated, Avoid Beta Builds
This sounds obvious, but a significant number of display issues mac users report are directly tied to being on a beta release or an older macOS version that had known GPU or display driver bugs. Staying on the latest stable release is your best protection against software-induced flicker.
Don’t Slam the Lid, Use a Cable Sleeve If You Travel
Physical wear on the display cable is slow and cumulative. Opening and closing the lid hard over years contributes to the exact kind of flex cable degradation that causes Flexgate. If you regularly put your MacBook in a bag with cables or accessories pressing against the screen, a sleeve adds meaningful protection.
Small habits, but they genuinely extend how long your display stays problem-free.
The Short Version
MacBook screen flickering is fixable in most cases, and the external monitor test is the fastest way to know which direction you’re headed. Start with the software fixes, work through them in order, and only consider hardware after you’ve genuinely ruled out everything else.
If you’re on Tahoe with an M-series Mac and an external monitor, the dithering issue is real and known. The Stillcolor workaround is your best option while waiting for Apple to address it natively.
For more practical troubleshooting guides and honest takes on Mac performance, check out what we’ve got over at TheByteLab.